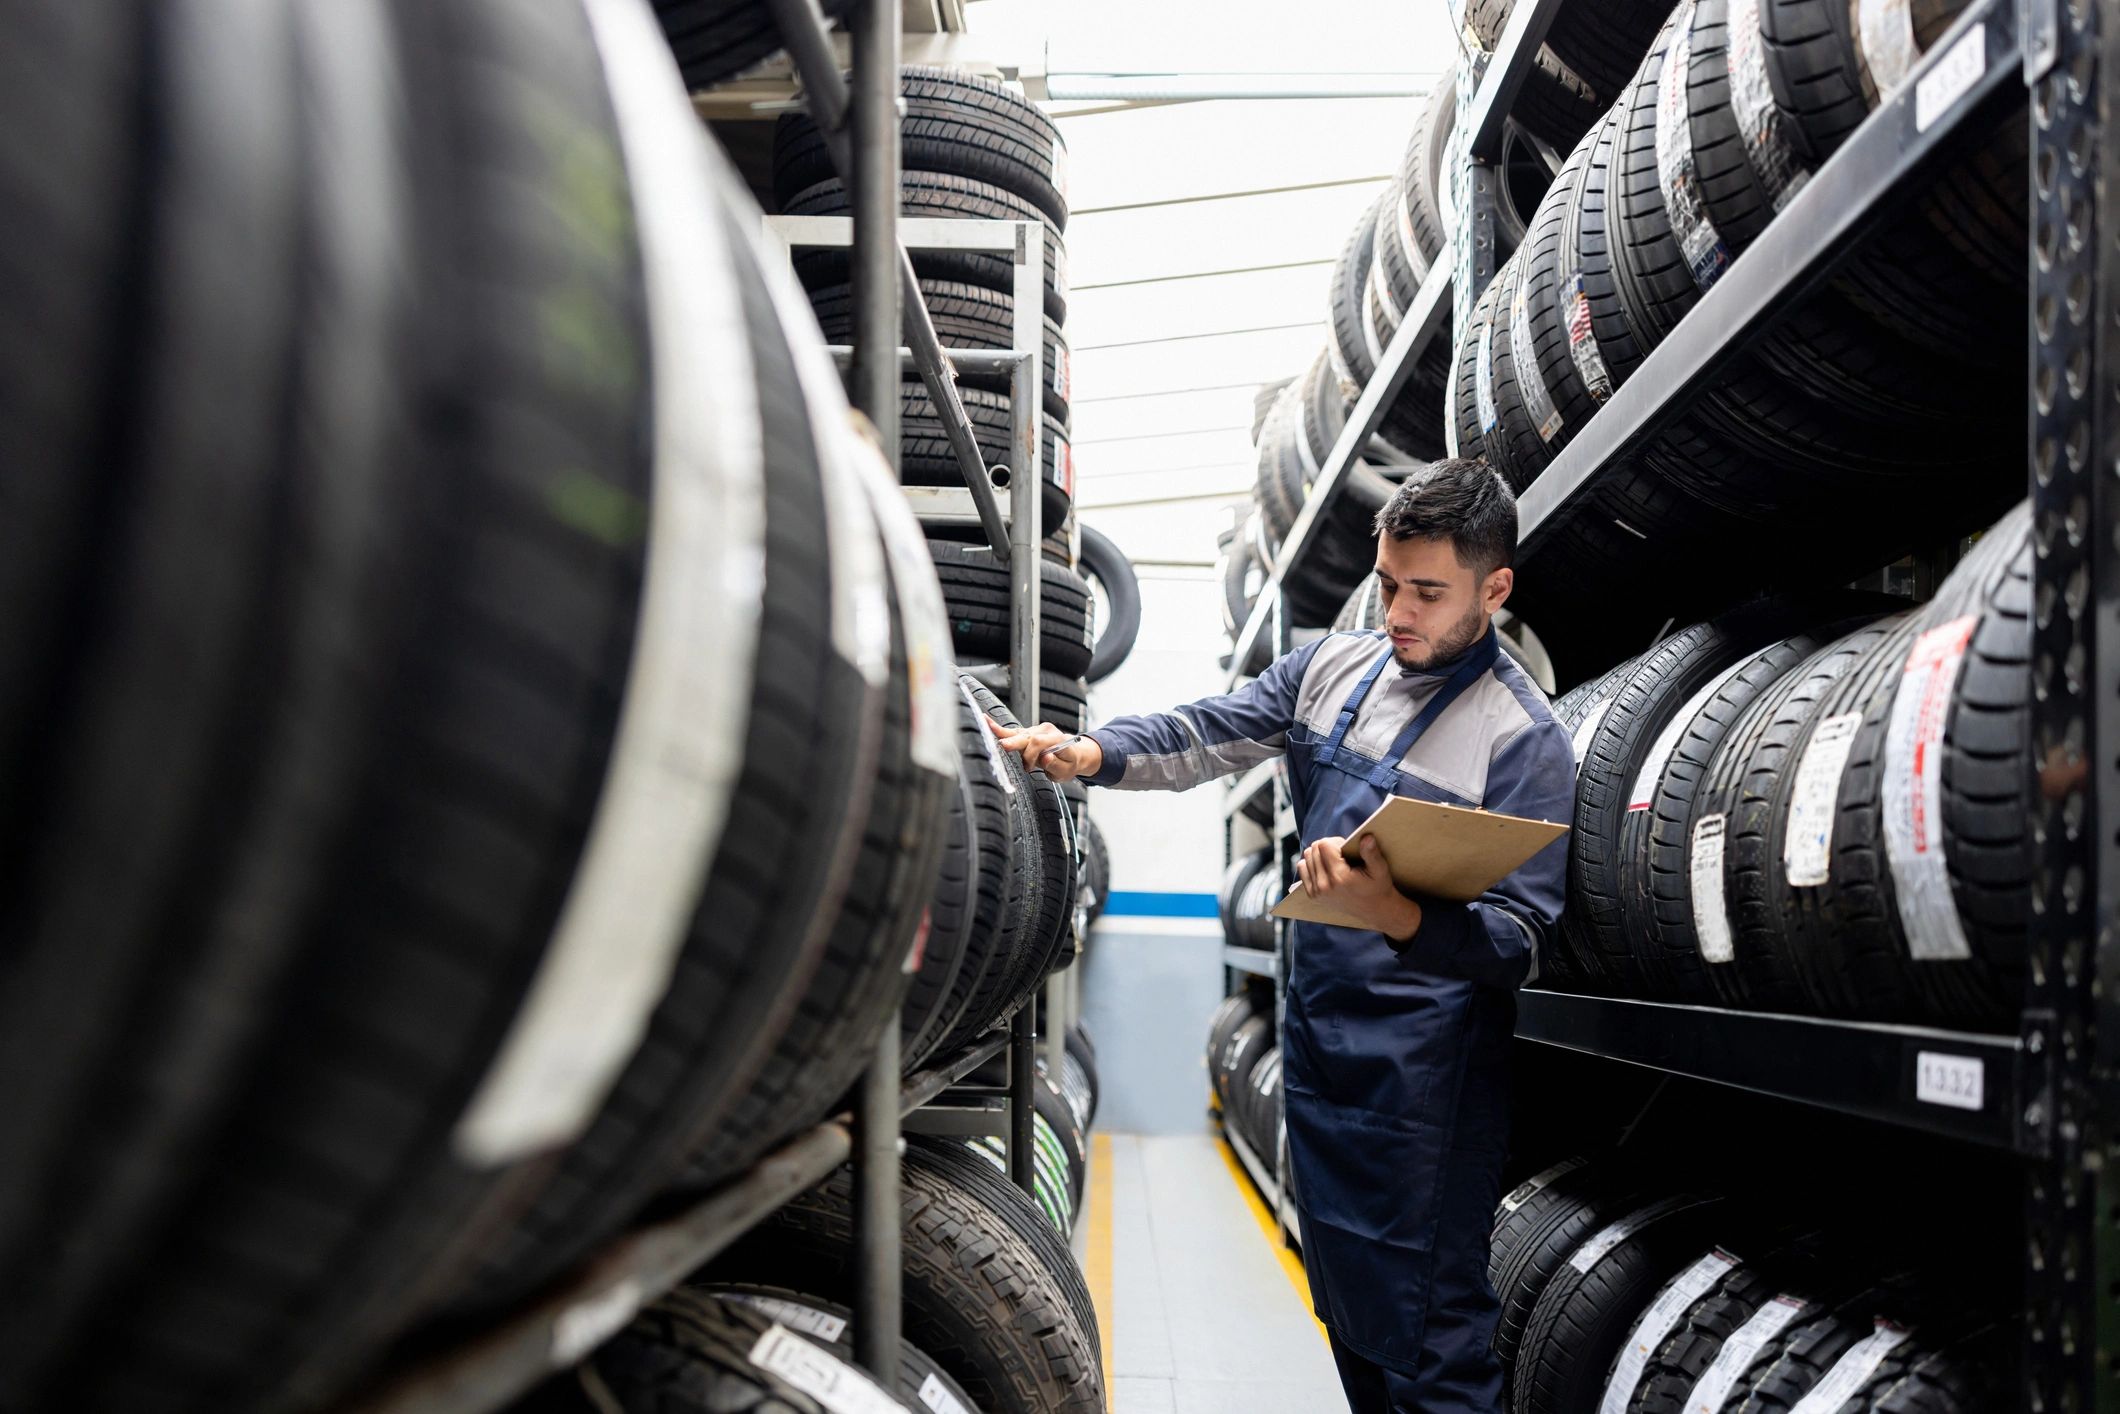
The Fleet Manager's Tyre Inspection Checklist
A blown tyre on the N1 at 2am costs far more than the tyre itself. Here is the pre-trip inspection routine that keeps South African fleets rolling.
The Fleet Manager's Tyre Inspection Checklist
A single tyre failure on a long-haul route doesn't just cost you a tyre — it costs you hours of downtime, a callout fee, a delayed delivery, and potentially a damaged client relationship. In South Africa's trucking industry, where margins are tight and distances are long, prevention is always cheaper than the cure.
This checklist is what our technicians use when they arrive on-site. Use it before every trip.
Why Pre-Trip Tyre Checks Matter
The South African road network puts commercial tyres under serious strain. Potholes on the N3, gravel shoulders on rural routes, extreme summer heat on the N1 — all of these accelerate tyre wear and increase blowout risk. Most roadside callouts we attend could have been avoided with a five-minute pre-departure check.
The 7-Point Pre-Trip Tyre Inspection
1. Check Tyre Pressure (Cold)
Always check pressure when tyres are cold — before the vehicle has moved more than 2km. Heat from driving increases pressure and gives a false reading.
- Steer tyres: Typically 100–110 psi for most rigid trucks
- Drive tyres: Typically 90–100 psi (check your vehicle's placard)
- Trailer tyres: Match the drive axle specification
Under-inflation is the single biggest cause of premature tyre failure. A tyre running at 20% below its rated pressure generates significantly more heat and wears unevenly across the shoulder.
2. Inspect Tread Depth
South African law requires a minimum tread depth of 1mm across the full width of the tyre. In practice, you should replace commercial tyres well before they reach this point.
Use a tread depth gauge — not your eye. Check:
- Centre of the tread
- Both shoulders
- Look for uneven wear patterns (cupping, one-sided wear, feathering)
Uneven wear is a symptom, not just a problem. It usually points to alignment, inflation, or suspension issues that need attention.
3. Look for Sidewall Damage
Run your hand along the full circumference of each sidewall. You're looking for:
- Bulges or bubbles — these indicate internal structural damage and the tyre must be removed immediately
- Cuts or gashes — anything deeper than the rubber compound is a risk
- Cracking — fine surface cracks (crazing) are normal on older tyres, but deep cracks indicate the rubber is degrading
A sidewall bulge is not a "monitor and see" situation. It is a remove-now situation.
4. Check for Foreign Objects
Inspect the tread face for embedded objects — nails, bolts, wire, stones. A nail in the tread may not cause an immediate flat, but it will work its way deeper with every kilometre.
If you find an object, do not pull it out on the road. The object may be sealing the puncture. Get to a tyre fitment centre or call a mobile tyre service.
5. Inspect Valve Stems and Caps
Valve stems are a common source of slow leaks that go unnoticed until the tyre is dangerously under-inflated. Check that:
- Valve caps are present and tight on every tyre
- Stems are not cracked, bent, or corroded
- Dual-wheel inner valves are accessible and not blocked by the outer wheel
6. Check Wheel Nuts and Studs
While you're at each wheel, check that wheel nuts are present and show no signs of loosening (rust streaks radiating from the nut, paint cracking around the nut face). Loose wheel nuts cause vibration that accelerates tyre wear and can lead to wheel separation — a catastrophic failure on a public road.
7. Inspect Dual-Wheel Spacing
On drive axles with dual wheels, check that there is no debris, stones, or tyre material wedged between the inner and outer tyres. Trapped material causes uneven pressure distribution and accelerated wear on both tyres.
Monthly Fleet Tyre Audit
Beyond the daily pre-trip check, schedule a monthly audit for your entire fleet:
- Rotate tyres according to your manufacturer's schedule
- Record tread depths per tyre position — this lets you spot abnormal wear early
- Check alignment on any vehicle showing uneven wear
- Review your tyre history — which positions are wearing fastest? This often reveals a mechanical issue
When to Call a Professional
Some things you can manage in-house. Others need a specialist. Call Apex Tyre Solutions when:
- A tyre has a sidewall bulge, deep cut, or visible cord damage
- You find a nail or foreign object embedded in the tread
- A tyre is losing pressure and you can't identify the source
- You need a tyre replaced at the roadside, anywhere in South Africa
We're available 24/7 on +27 079 294 4277. One call and we roll to your location.
The Bottom Line
A five-minute tyre check before departure is the cheapest insurance you can buy for your fleet. Build it into your driver pre-trip routine, document it, and act on what you find. The cost of a blowout — in time, money, and risk — is always higher than the cost of prevention.
Explore Topics
Written by
Apex Tyre Solutions
Content creator and writer sharing insights and stories.